start-ocr Docs
Caveat
ImageMagick setups vary:
homebrew-based installationDockerfilecompiles from source- Github action
main.yml
This makes some tests janky so have to be a bit creative, e.g.:
>>> contours = get_contours(im, (10,10))
>>> len(contours) in [222,223] # So one installation outputs 222 and the other 223
True
Ideally, this would consistent. Will have to circle back on this another time.
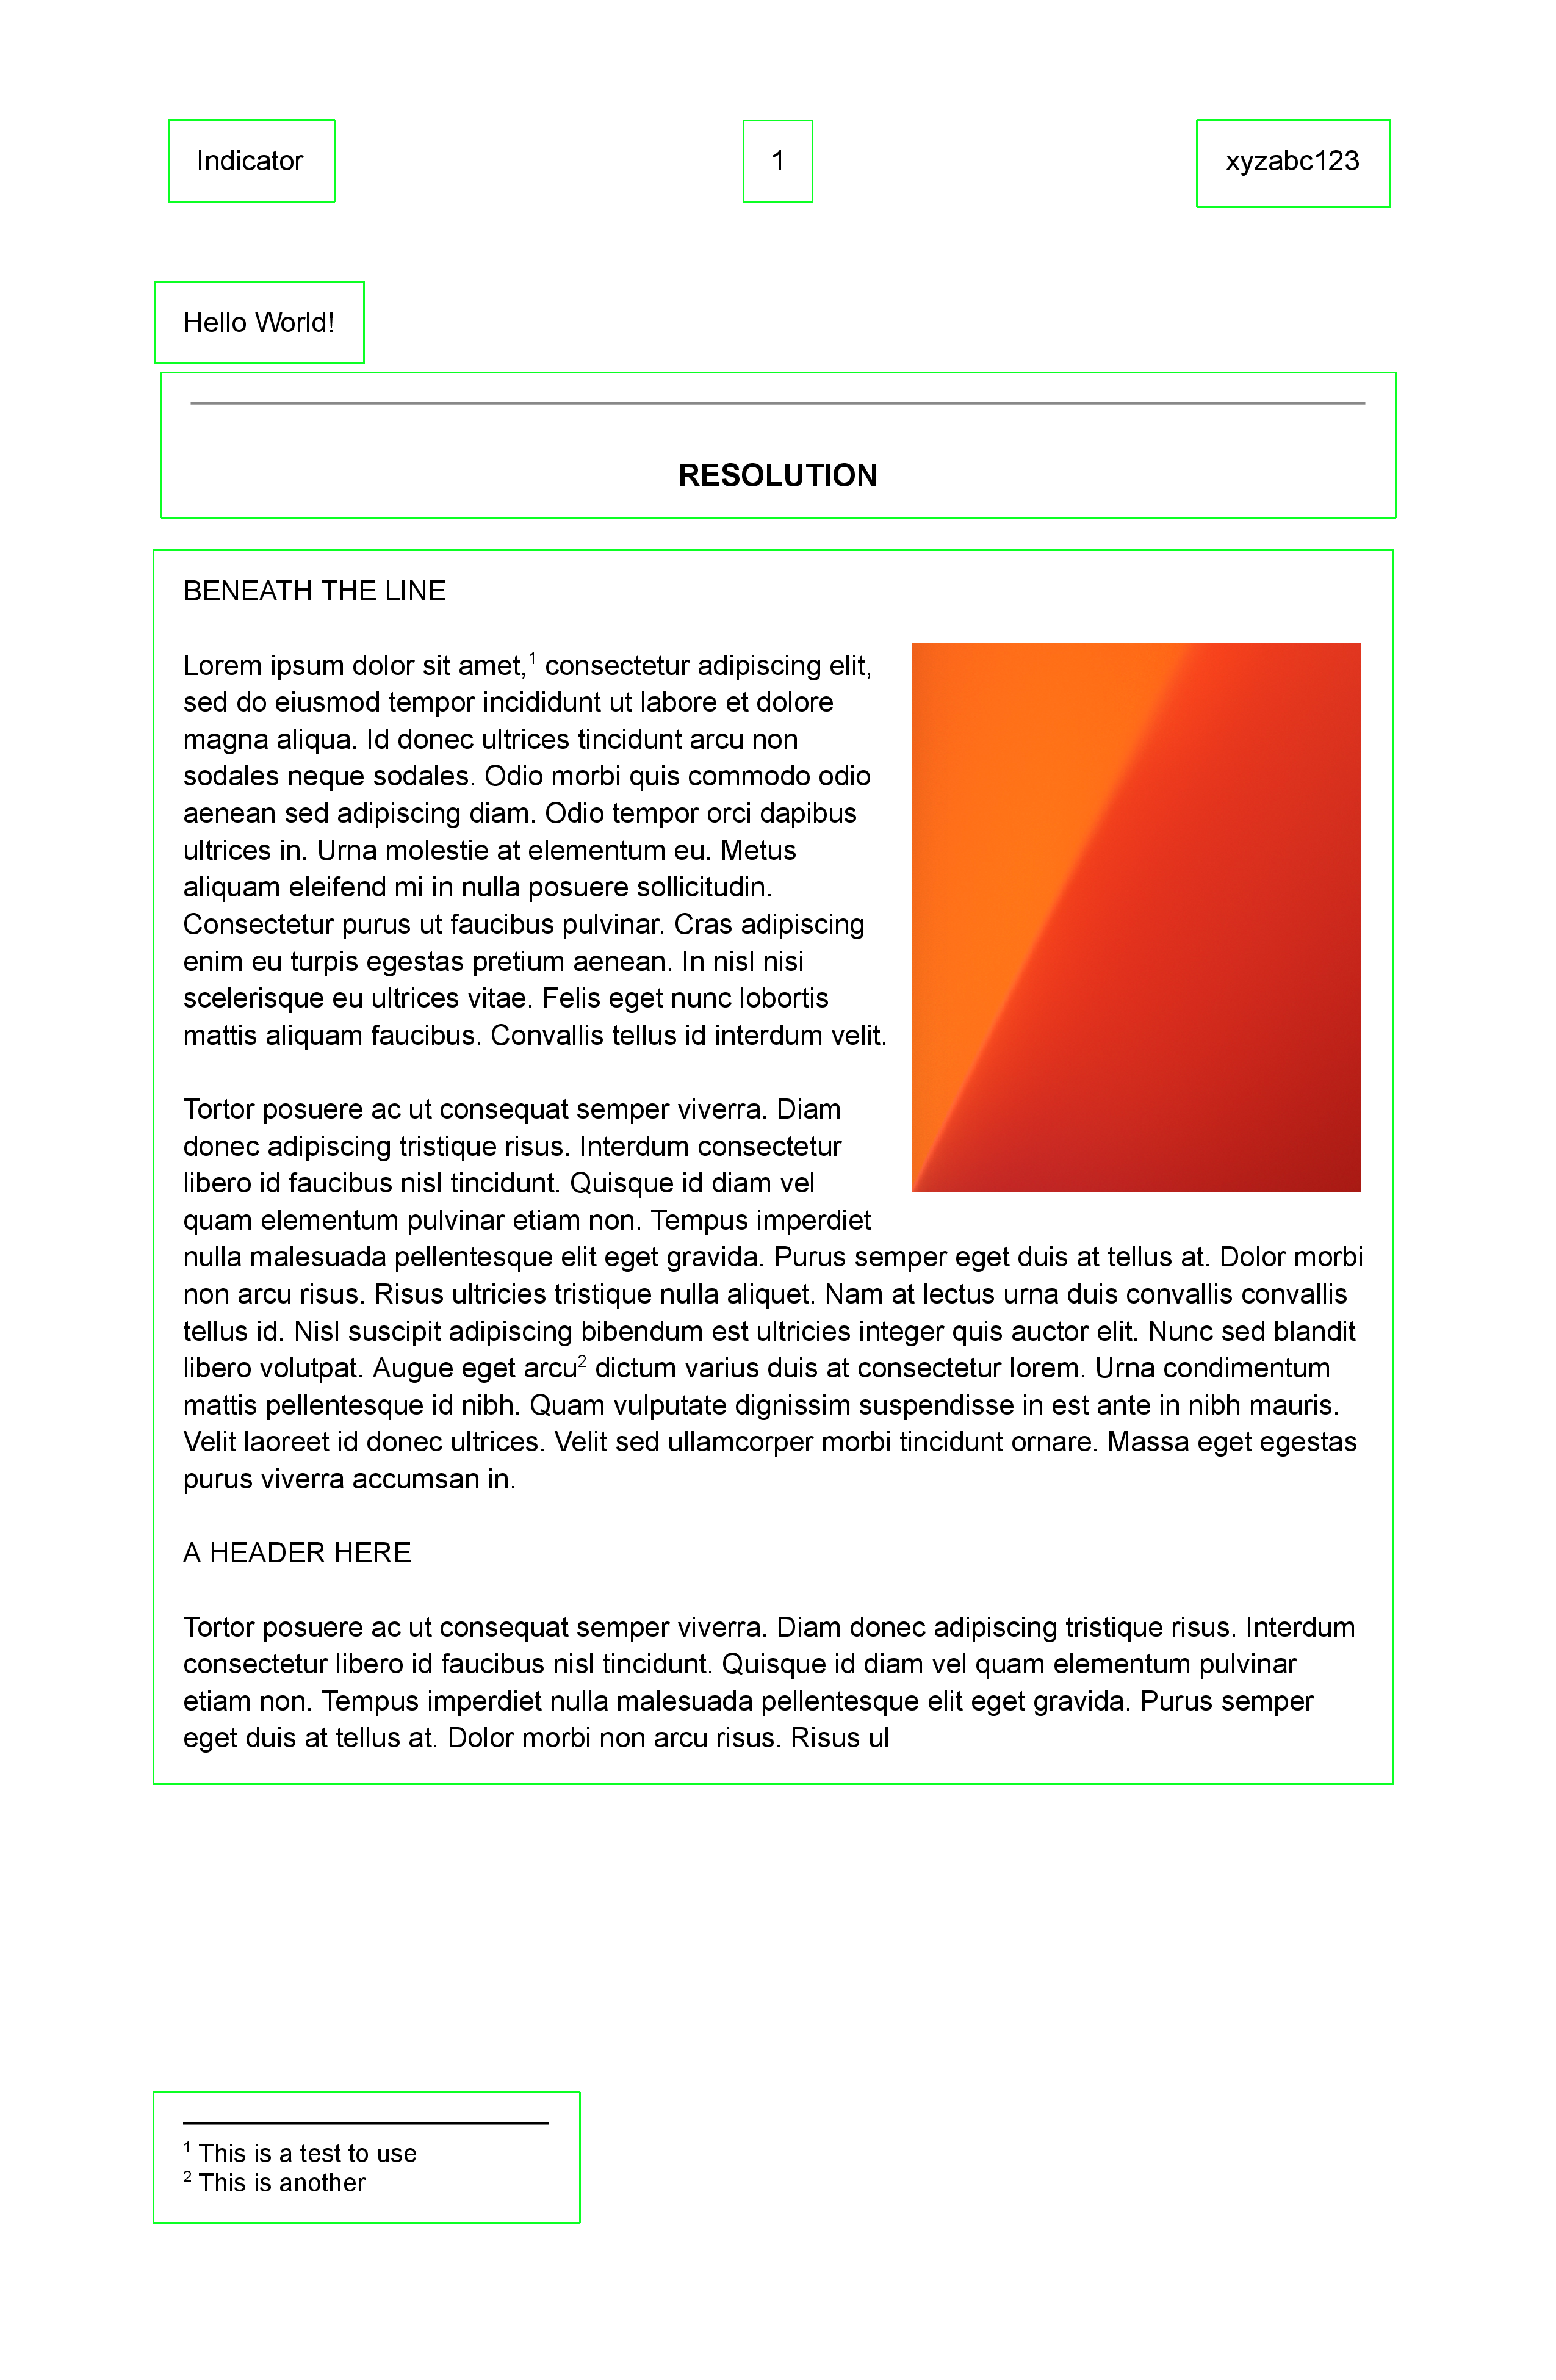
Sample PDF
A simple file is included in the /tests folder to demonstrate certain functions:

fetch.get_page_and_img()
Each page of a PDF file, can be opened and cropped via pdfplumber.
To parse, it's necessary to convert the pdf to an opencv compatible-image format
(i.e. np.ndarray). This function converts a Path object into a pair of objects:
- the first part is a
pdfplumber.Page - the second part is an openCV image, i.e.
np.ndarray
Examples:
>>> page, im = get_page_and_img(Path().cwd() / "tests" / "data" / "lorem_ipsum.pdf", 0) # 0 marks the first page
>>> page.page_number # the first page
1
>>> isinstance(page, Page)
True
>>> isinstance(im, np.ndarray)
True
>>> page.pdf.close()
Parameters:
| Name | Type | Description | Default |
|---|---|---|---|
pdfpath |
str | Path
|
Path to the PDF file. |
required |
index |
int
|
Zero-based index that determines the page number. |
required |
Returns:
| Type | Description |
|---|---|
tuple[Page, ndarray]
|
tuple[Page, np.ndarray]: Page identified by |
Source code in src/start_ocr/fetch.py
slice.get_contours()
Mental Model
flowchart LR
    pdf --> im[image]
    im --> c[contours]
    c --> c1[contour 1: the header]
    c --> c2[contour 2: the line below the header]
    c --> c3[contour 3: the footer]
Conversion
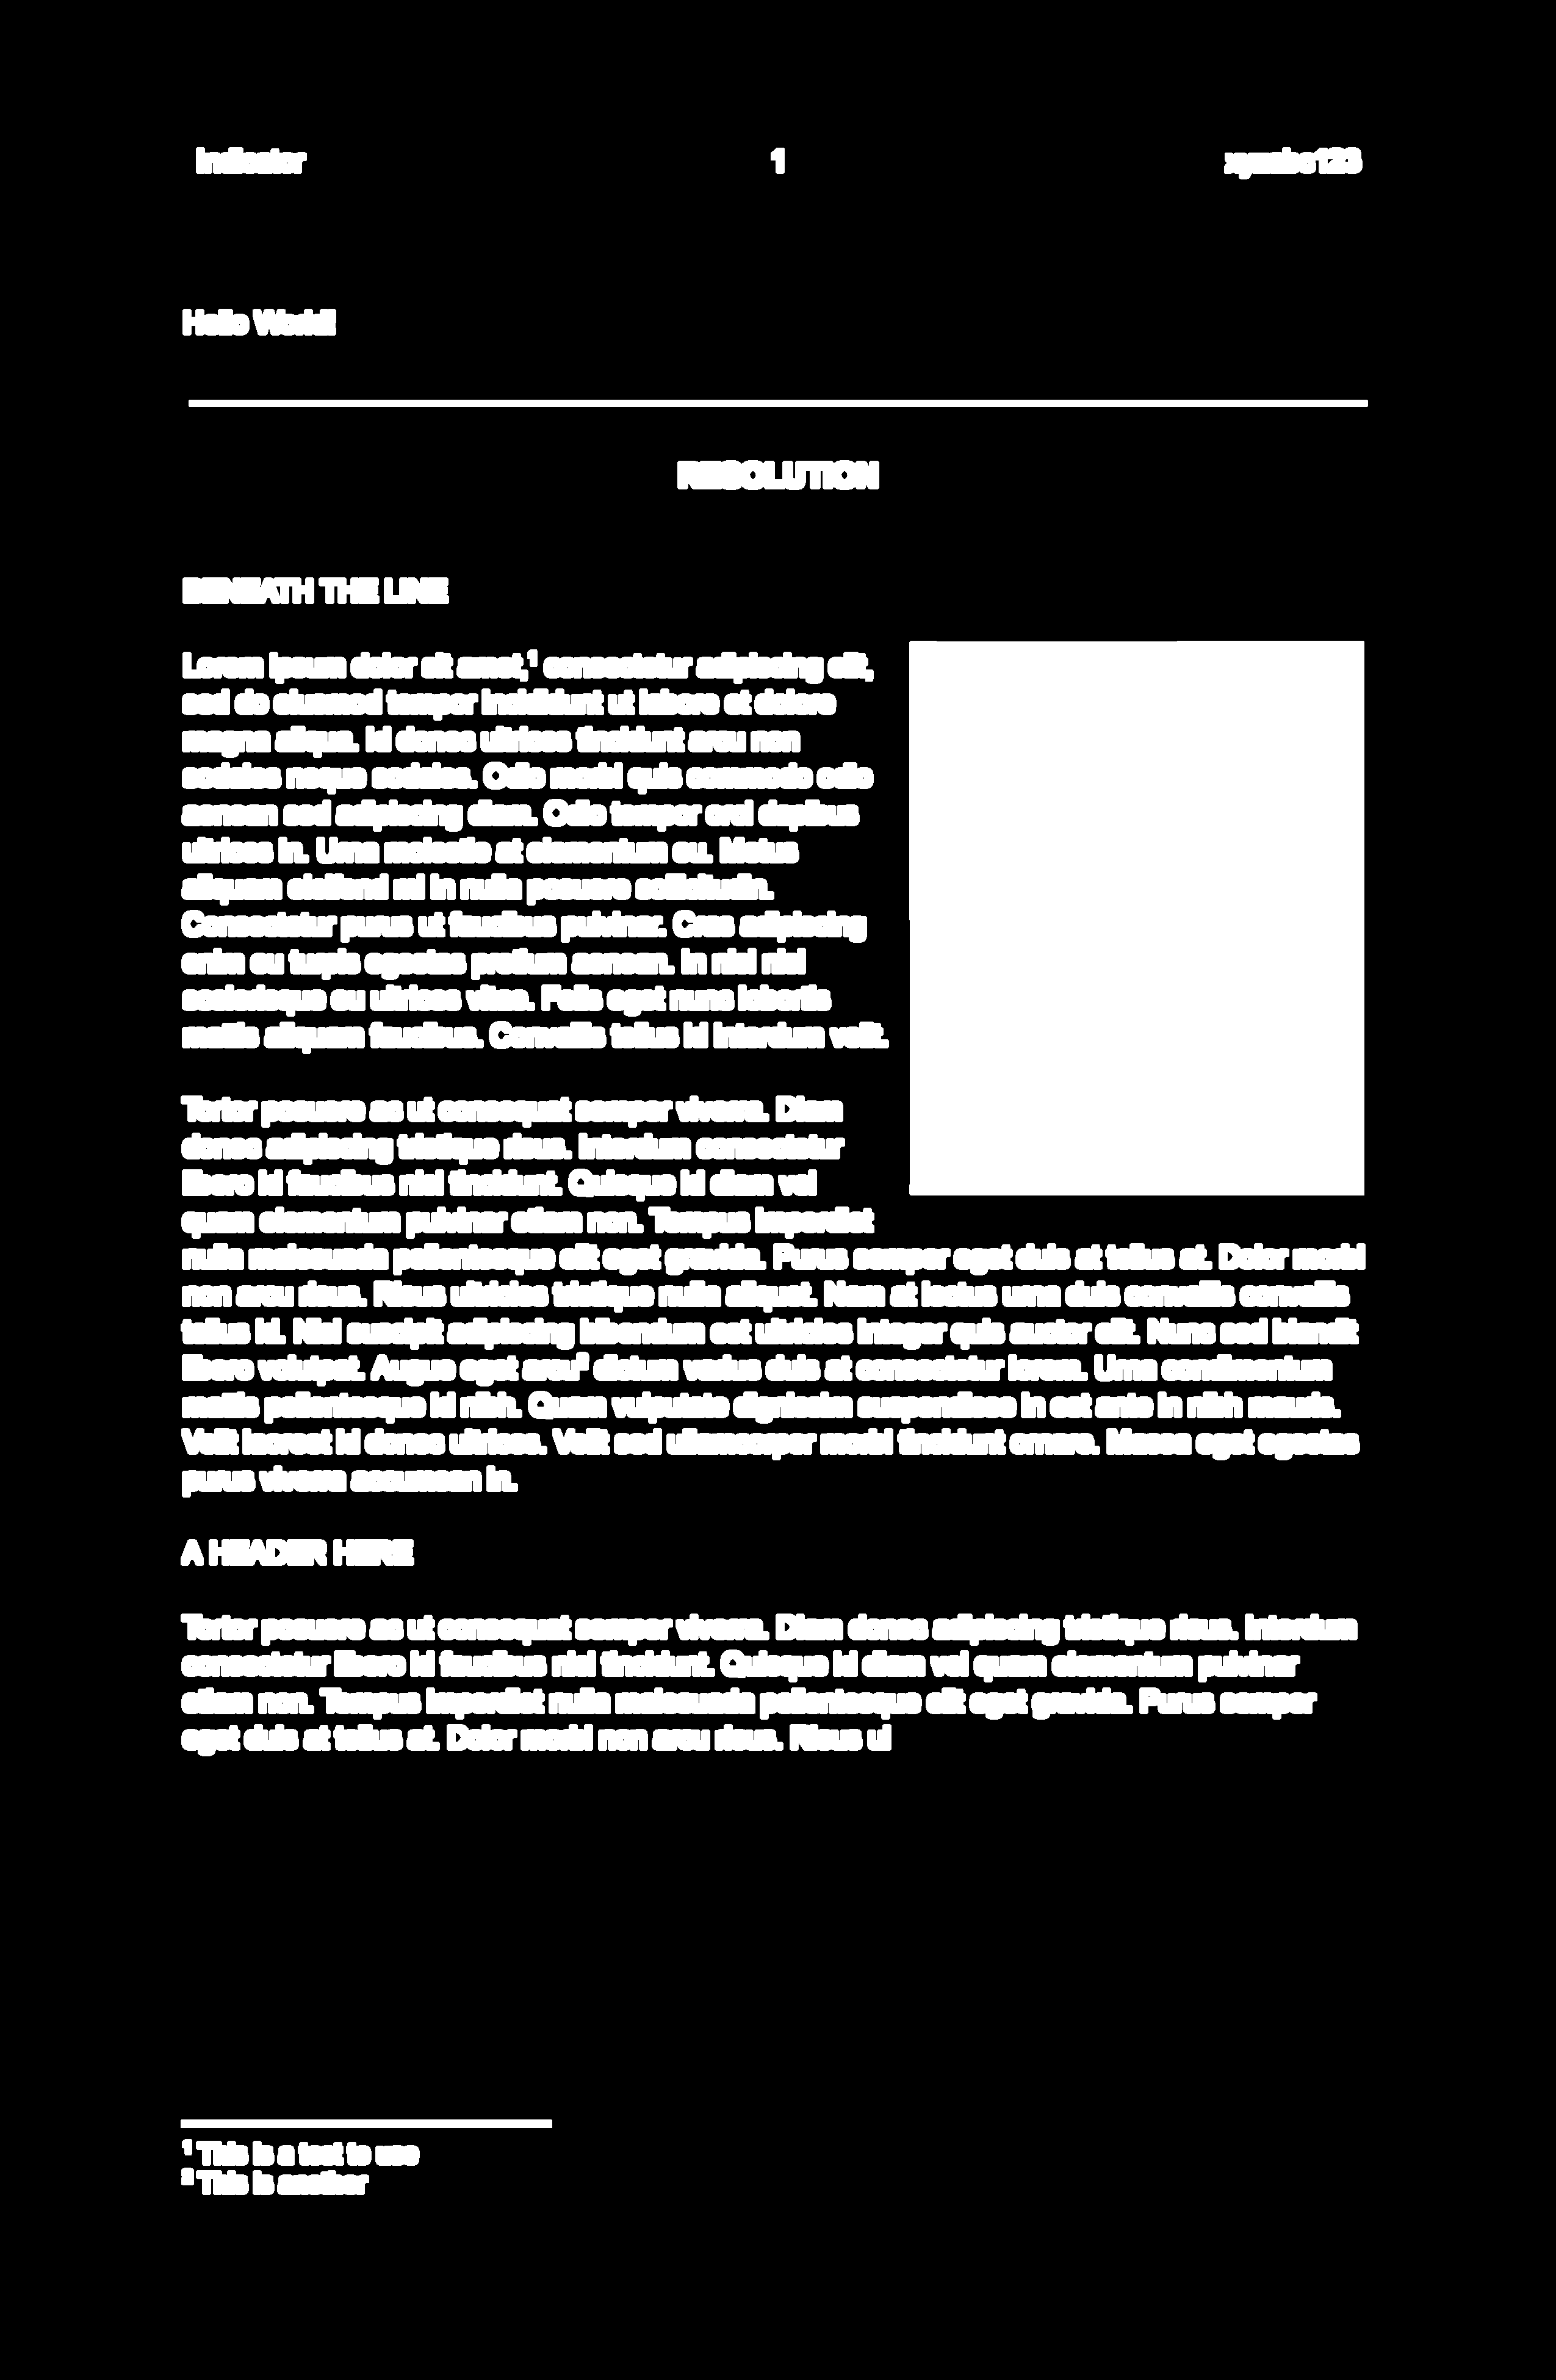
Converting the pdf to an image format enables get_contours(). Contours can be thought of as tiny fragments within the document that delineate where certain objects in the document are located.
Show Contours
To demonstrate get_contours, I created a helper show_contours which just prints out where the contours are found given a rectangle size that we want to use for the image.
100 x 100 yields 7 contours
>>> from start_ocr import get_page_and_img, show_contours
>>> page, img = get_page_and_img(pdfpath=p, index=0)
>>> rectangle_size_lg = (100,100)
>>> contours = show_contours(img, rectangle_size_lg) # runs get_contours()
dilated |
contours |
|---|---|
 |
 |
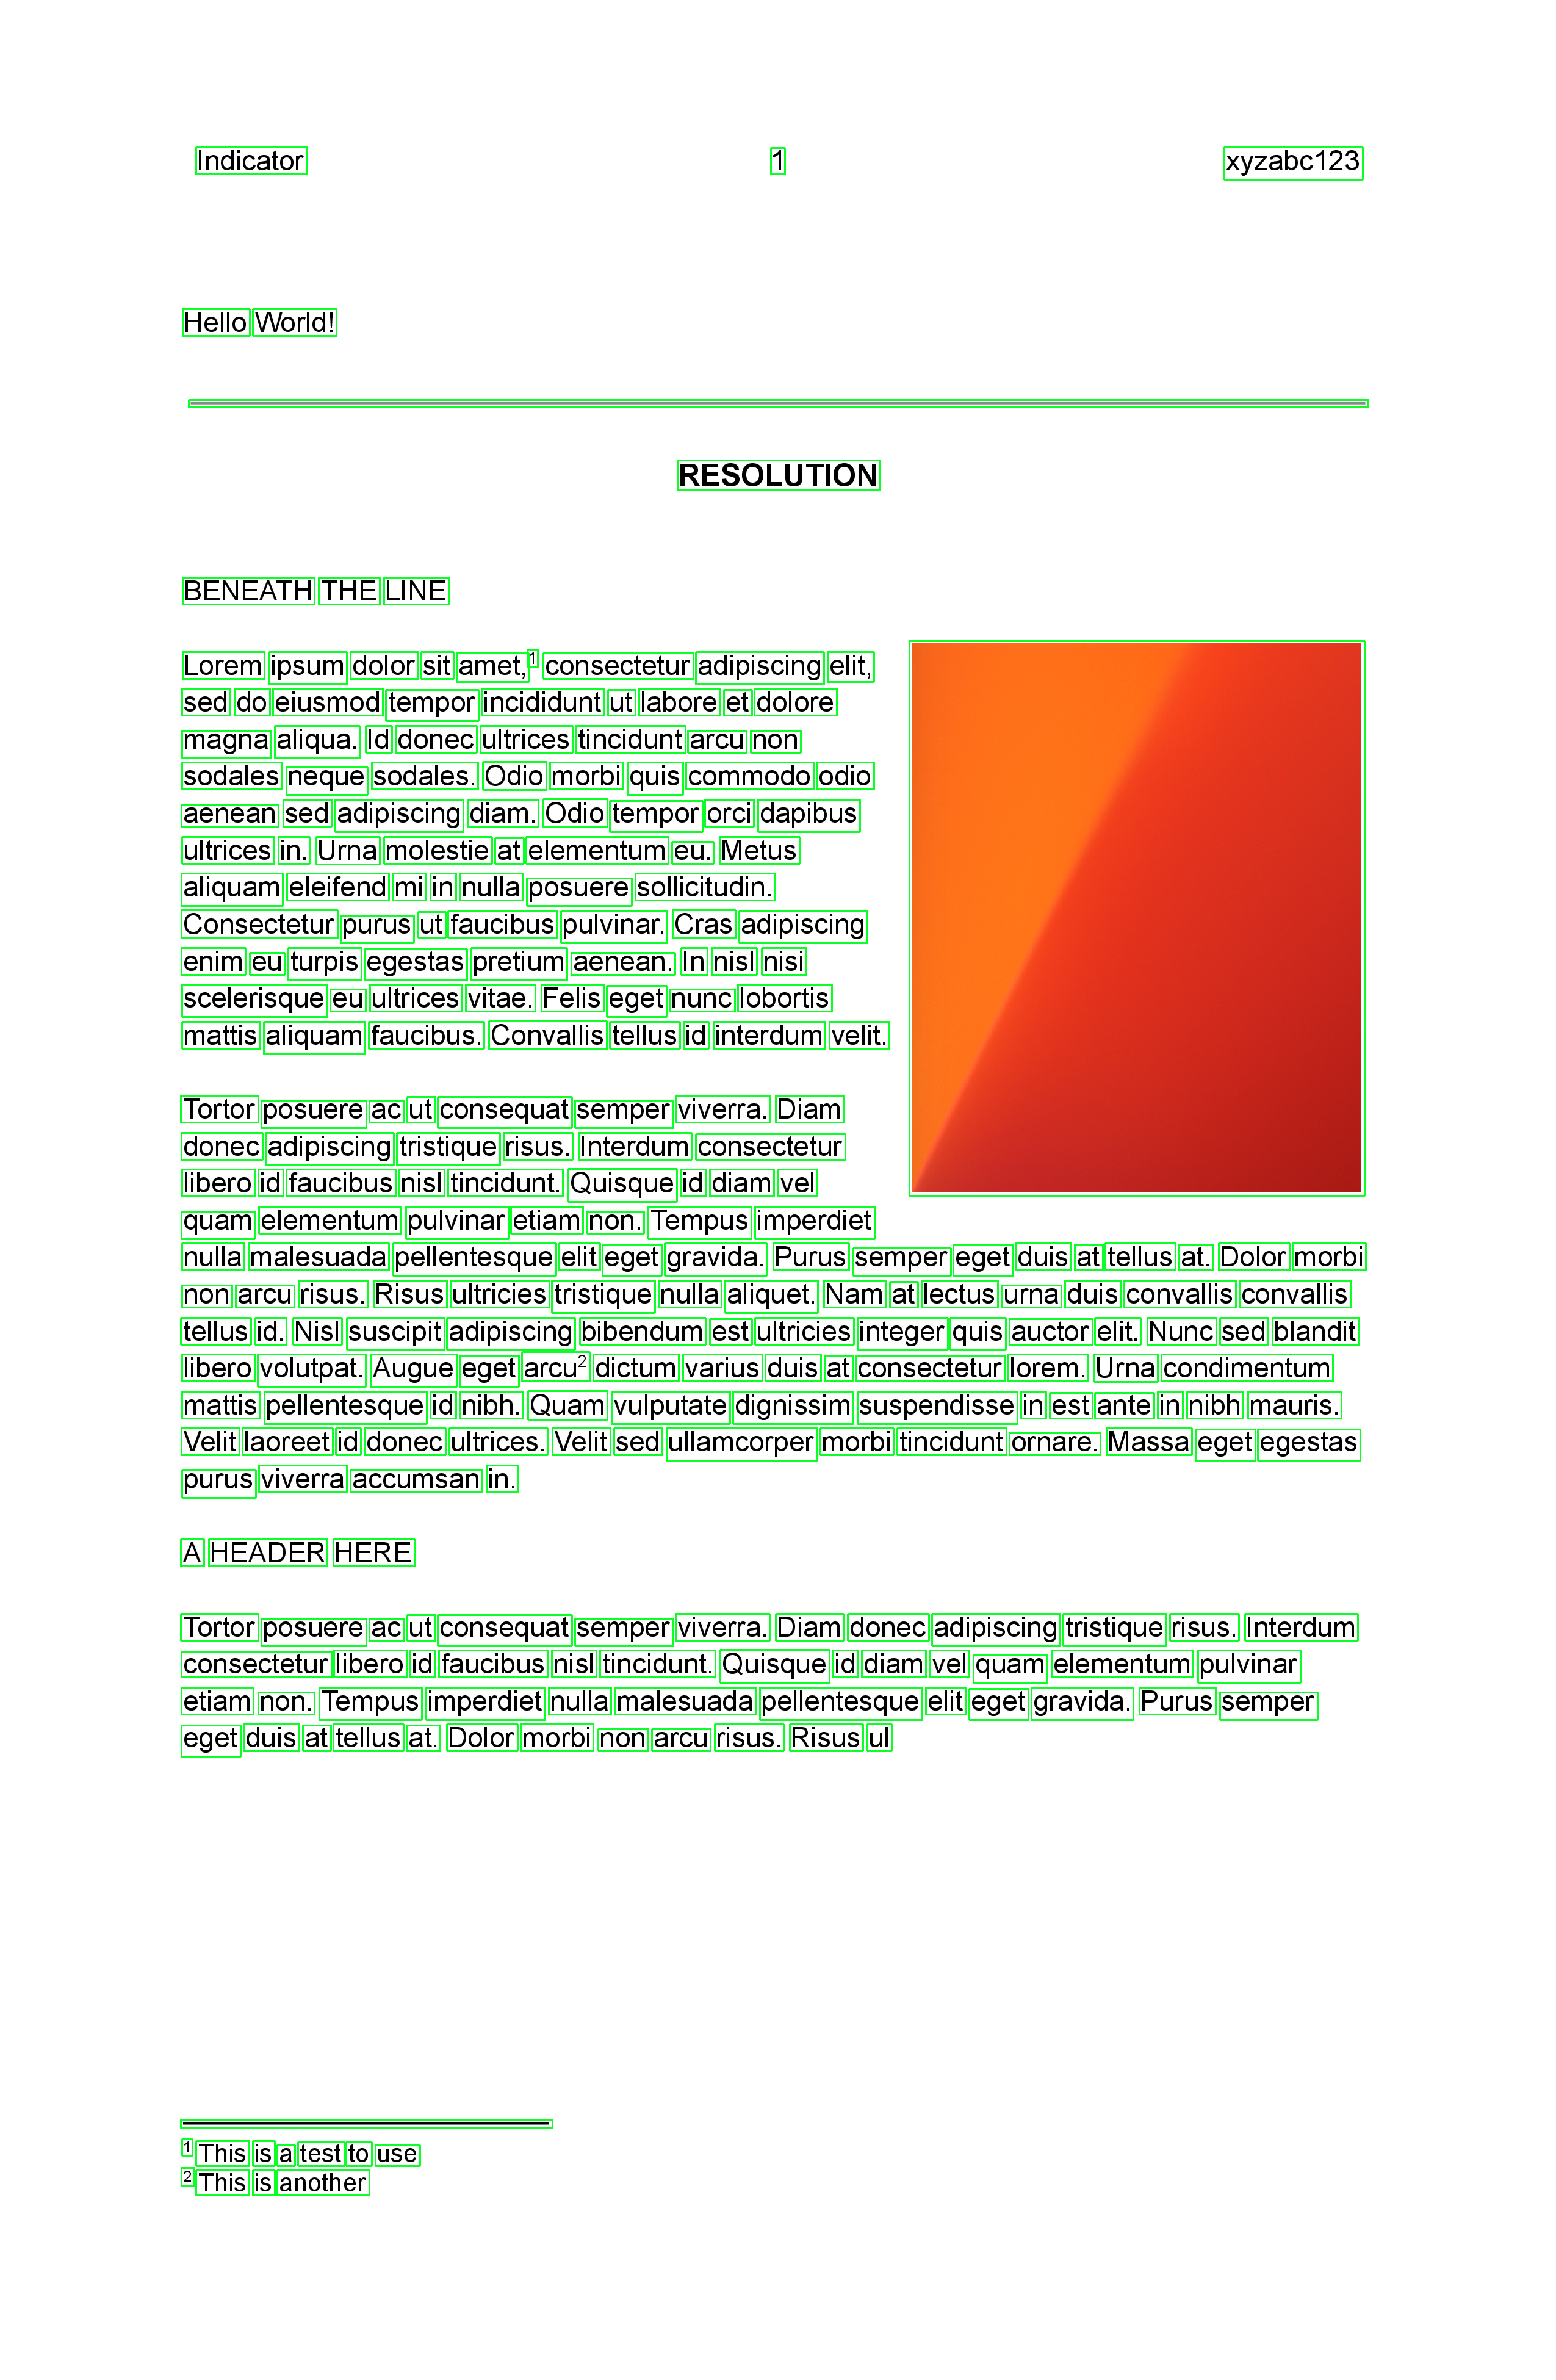
10 x 10 yields 285 contours
>>> from start_ocr import get_page_and_img, show_contours
>>> page, img = get_page_and_img(pdfpath=p, index=0)
>>> rectangle_size_sm = (10,10)
>>> contours = show_contours(img, rectangle_size_sm) # runs get_contours()
dilated |
285 contours |
|---|---|
 |
 |
get_contours()
Explaining dilation and contours.
The function follows the strategy outlined in Python Tutorials for Digital Humanities. A good explanation on how dilation works is found in this Stack Overflow answer by @nathancy.
Using tiny rectangle_size of the format (width, height), create a dilated version
of the image im. The contours found are outputed by this function.
Examples:
>>> from pathlib import Path
>>> from start_ocr.fetch import get_page_and_img
>>> page, im = get_page_and_img(Path().cwd() / "tests" / "data" / "lorem_ipsum.pdf", 0)
>>> contours = get_contours(im, (50,50))
>>> len(contours)
15
>>> contours = get_contours(im, (10,10))
>>> len(contours) in [222,223]
True
Parameters:
| Name | Type | Description | Default |
|---|---|---|---|
im |
ndarray
|
The opencv formatted image |
required |
rectangle_size |
tuple[int, int]
|
The width and height of the contours to make |
required |
test_dilation |
bool
|
If |
False
|
test_dilated_image |
str | None
|
description. Defaults to "temp/dilated.png". |
'temp/dilated.png'
|
Returns:
| Name | Type | Description |
|---|---|---|
list |
list
|
The contours found based on the specified structuring element |
Source code in src/start_ocr/slice.py
Filtering contours
Each contour can be filtered further to arrive at rectangles that meet the filter criteria:
flowchart TB
    c1[contour 1] --> f[filter]
    c2[contour 2] --> f
    c3[contour 3] --> f
    f --> c2x[filtered contour 1]
For instance, we can try looking for a long horizontal line matching some criteria:
- If we imagine the page to be divided into 3 equal vertical slices, the line must start at the first slice and end in the third slice.
- If we imagine the page width to be of X width, X/2 is simply half this width.
Let's say we want to look for a line that is greater than half the page width (2), positioned with edges along (1):
The CoordinatedImage is a data structure to compute related values of x, y, w, and h.